
Making a DIY wooden headboard
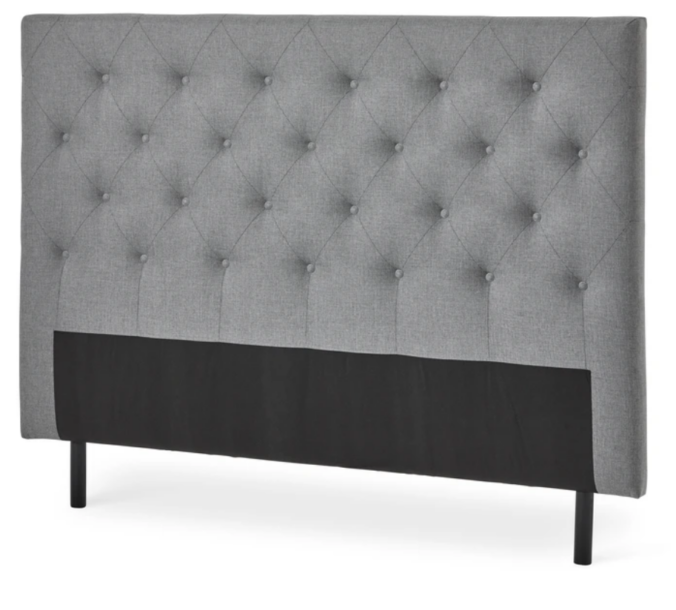
DIY Headboard – We bought a new bed for our small bedroom almost six years ago from Mio (Swedish furniture warehouse), which came with a padded headboard as part of the package. We have leaned against this headboard almost every morning while enjoying our morning coffee, resulting in it becoming slightly discolored and unappealing. The exact one we have (below) costs about 500 USD at Mio, which is expensive.
Twice, I rented a upholstry cleaner and cleaned almost everything in our home, including the headboard. It made it fresher, but not perfect.
Recently, I had some motivation to work on a fun project, and after Googling ”DIY headboard” and browsing for inspiration, I found a favorite project: Remodelista ”DIY Paneled Wood Headboard: A Finnish Blogger’s Clever Bedroom Upgrade.”

So, it was time to start building our own headboard. We didn’t have a clear design in mind we went to a home improvement store and just browsed. There we found a wall panel that was perfect.

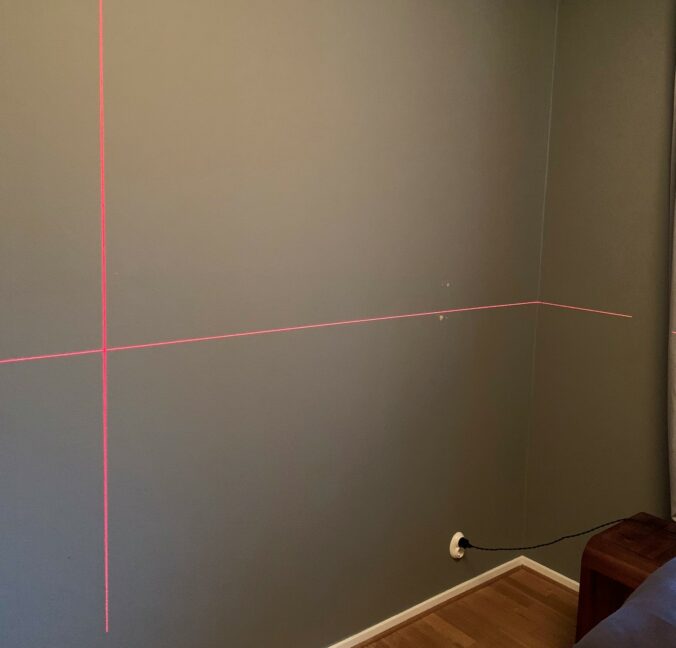
Step 1 – building the frame
I read the installation instructions for the wall panel, which said that the frame’s studs should have a 60cm center-to-center distance so that the panel could be screwed in. I placed the frame on spacers because I wanted a wider shelf on top for paintings, a lamp or other things. The spacers was secured to the wall with angle irons and then I just screwed the studs in the spacers.

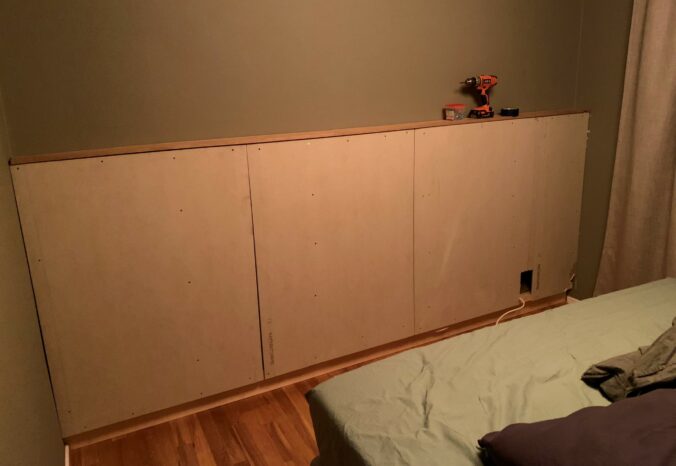
Step 2 – gypsum boards
Since the wall panel is a 6mm thick painted wood fiber board, I wanted to make the construction sturdier. I didn’t want it to feel uncomfortable to lean against it out of fear of breaking it. So, I purchased two gypsum boards, which I cut using this guide on YouTube. I screwed the gypsum boards to the studs with gypsum screws. I also made a hole to reach the outlet in the existing wall using a small saw.
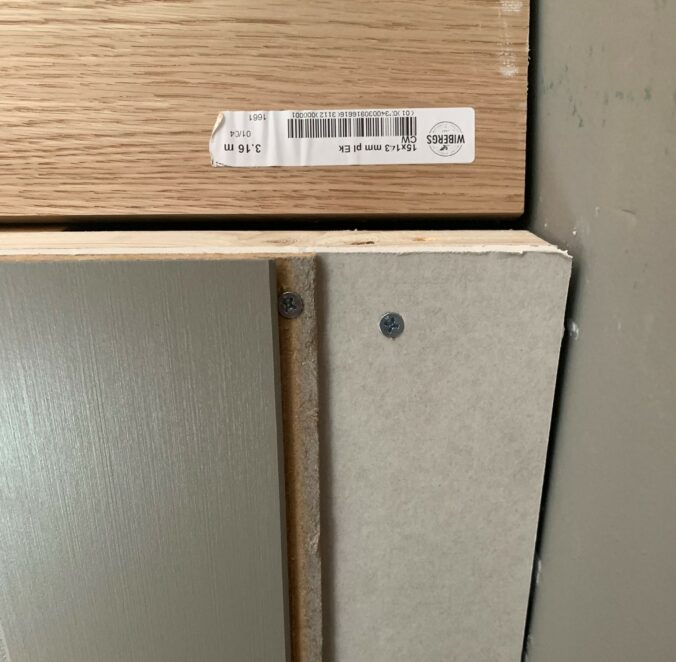
Step 3 – cutting the wall panel in half
The wall panel is 2390mm high, and I cut it in half. As seen in the picture, I made the panel ”floating” by placing the floor trim without spacers. The height, therefore, is floor trim + wall panel = about 1300mm.
To easily work with the wall panel, I bought an insulation foam board, which I placed on the garage floor and cut against it. This prevents sawing into the floor and prevents the cut pieces from chipping. You can also use painter’s tape to tape where you plan to cut. I did that in the beginning, but it wasn’t necessary.


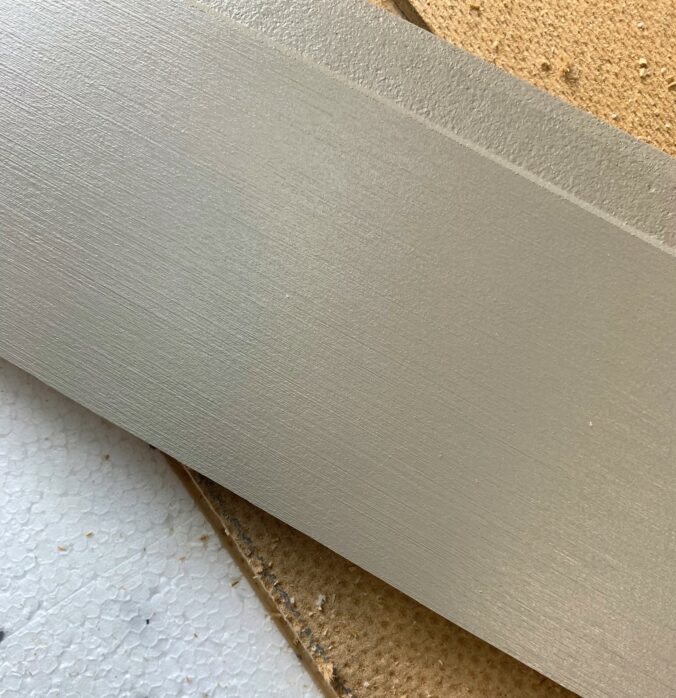
Step 4 – wall paneling
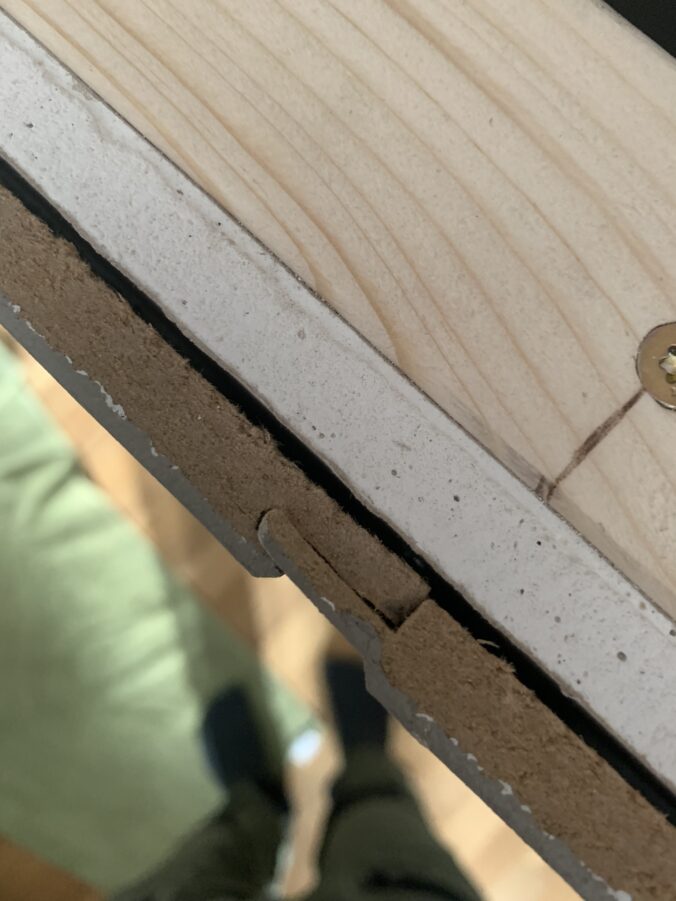
Huntonit wall panels should be screwed with gypsum screws. The first panel is fitted and screwed in place. The next panel slide into a groove on the first panel and then is screwed into place. This is continued with the remaining panels.
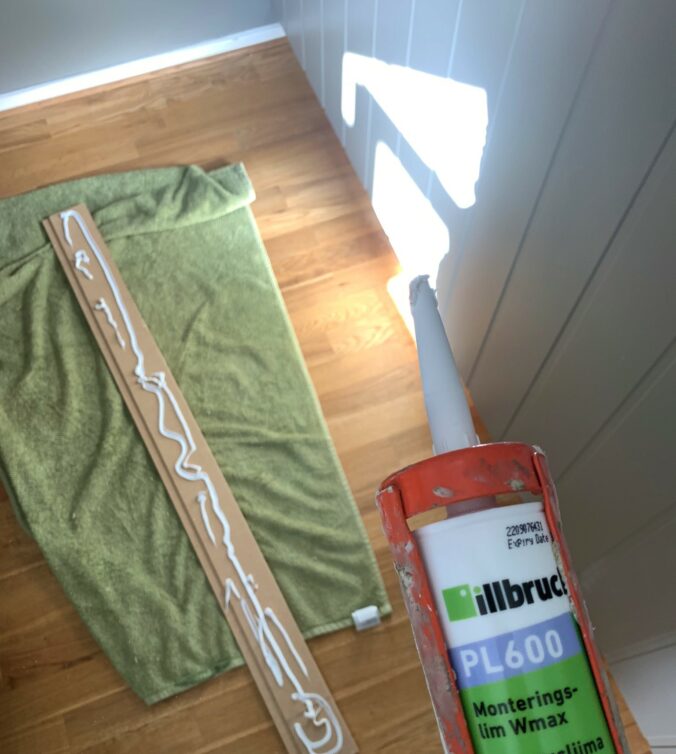
I only followed this partially because I didn’t want visible screws. Instead, I used hidden screws and glued the wall paneling with PL600 adhesive.

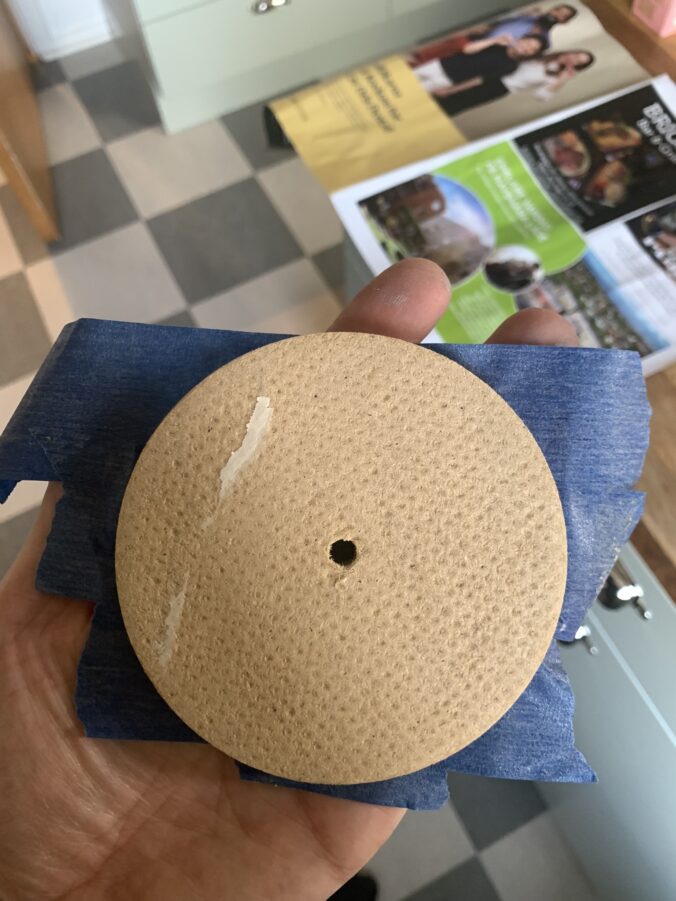
Step 5 – Drilling holes for electrical wiring
I don’t want to have to bring in an electrician, so I choose to leave the existing electrical outlet in the existing wall. To access this outlet, I need to make a hole in the newly installed wall panel. I did this with a hole saw. The diameter of the hole is just over 100mm.


Step 6 – Lighting
I chose not to screw in the oak plank that I have as a top shelf. This is to easily access the electricity and install the lighting. Instead, I super-glued magnets that hold it in place.
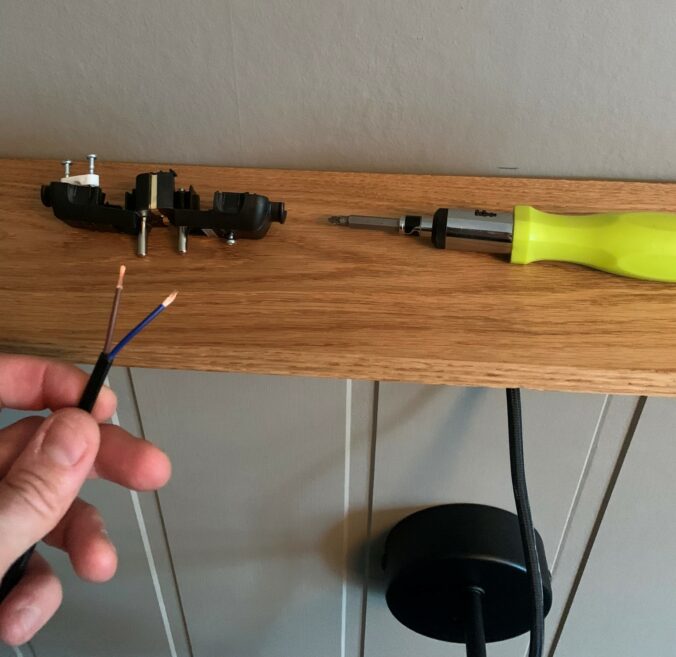
I bought two bedside lamps online. These have a nice textile cord, but I don’t want a visible cord. To achieve this, I had to cut the plug off my new lamps and replace it with a new one behind the wall panel.


Step 7 – Result

Our bedroom is small, so it’s hard to take good pictures, but the result exceeded our expectations. It’s a completely different room and a much cozier and warmer feeling. Now we just want to get into bed and read.
Cost – DIY wooden bed headboard
The cost, including the bedside lamps, is just over 400 USD. The lamps cost 200 USD. I sold the old bedside tables on the Swedish version of Craigs List for 40 USD making the total cost 360 USD.
DIY wooden bed headboard
A fun project that really lifted the bedroom tremendously. The feeling is warm and cozy, the lighting is great for reading, and we just love our ”new” bedroom.
The time required was not more than here and there during a weekend. No special tools are needed except for a circular saw.
Make sure to also check out my step by step guide making theese lounge chairs (or Kentucky stick chairs).

